
Direct Answer: How to Safely Rollback a Problematic Plugin Update
If a recent WordPress plugin update causes a critical error, the safest rollback method is to restore the plugin to its previous version by manually replacing the faulty plugin files with the older version, preferably after backing up your site. This can be done via FTP or your hosting file manager, ensuring plugin data/settings in the database remain intact. Deactivating the plugin temporarily can also lift the critical error to regain dashboard access.
Prerequisites and Safety Checks Before Rolling Back
- Full Backup: Before altering your site files, take a complete backup of both files and the database using plugins like UpdraftPlus or via your hosting panel.
- Access Methods: Ensure you have FTP/SFTP or file manager access through your hosting control panel to manually replace plugin files.
- Know the Problematic Plugin: Identify the exact plugin causing the error. WordPress debugging or error logs can help pinpoint it.
- Obtain Previous Plugin Version: Download the prior stable version of the plugin from the WordPress plugin repository’s Advanced View or from a trusted archive.
- Deactivate the Plugin if Needed: If error prevents dashboard login, deactivate the plugin via FTP by renaming its folder as a temporary measure.
Step-By-Step Guide to Rollback a Faulty WordPress Plugin Update
- Backup Your Site: Use a reliable backup plugin or hosting backup tool to save your site’s current state.
- Identify the Faulty Plugin: Locate the plugin causing the critical error, typically the one you updated recently.
- Access the Site Files: Use FTP/SFTP (with tools like FileZilla) or your host’s file manager to browse
/wp-content/plugins/. - Temporarily Deactivate the Plugin:
- Rename the plugin’s folder (e.g., from
plugin-nametoplugin-name-disabled) to deactivate it and regain dashboard access.
- Rename the plugin’s folder (e.g., from
- Download the Previous Plugin Version:
- Visit wordpress.org/plugins/, find your plugin, go to “Advanced View,” and download an earlier version ZIP file.
- Extract and Upload the Old Version:
- Extract the ZIP locally.
- Delete the faulty plugin folder from
wp-content/plugins/. - Upload the old version’s folder to the same location.
- Reactivate the Plugin:
- Rename the folder back to the original plugin name if renamed.
- Log into the dashboard and activate the plugin.
- Test Your Site:
- Verify the critical error is gone.
- Test plugin functionality to ensure it works as before.
- Implement Preventative Measures:
- Consider enabling staging environments or testing updates first to avoid live site issues.
How to Verify Success and Avoid Data Loss
After rollback, verify:
- The site loads properly without critical error messages.
- You can access your WordPress admin dashboard without issues.
- The plugin’s functionalities are working as intended.
- Settings and previous configurations in the plugin remain unchanged, which they should be since these are stored in the database separate from plugin files.
- Use
WP_DEBUGmode inwp-config.phpto check for any residual errors by addingdefine('WP_DEBUG', true);before your rollback.
Common Mistakes When Rolling Back Plugins
- Skipping Backups: Modifying files without backups can cause irreversible damage if something goes wrong.
- Deleting Plugin Data: Avoid deleting database entries or settings unless intended; the rollback process only replaces plugin files.
- Using Incompatible Plugin Versions: Downgrading to a version incompatible with your current WordPress or PHP version can lead to further errors.
- Ignoring Access Issues: Not knowing how to use FTP or file managers limits your ability to fix plugin-related errors effectively.
- Failing to Test Thoroughly: Not checking multiple pages or features after rollback can leave hidden errors unnoticed.
Alternative Approaches If Rollback Is Not Possible or Complex
- Restore from a Full Site Backup: If you have recent backups before the plugin update, restoring those is the fastest way.
- Use a Staging Site: Test plugin updates and rollbacks in a staging environment to prevent live site disruptions.
- Contact Plugin Support: Sometimes the plugin developer can provide patched versions or specific rollback instructions.
- Switch to a Similar Plugin: If rollback options fail, consider replacing the faulty plugin with a reputable alternative.
- Enable WordPress Debugging: Define
WP_DEBUGandWP_DEBUG_LOGinwp-config.phpto identify specific issues causing errors for targeted correction.
Short FAQ
Q: Will rolling back a plugin delete my settings?
A: Generally no. Plugin settings are saved in the WordPress database, so replacing plugin files does not remove settings.
Q: Can I rollback plugins from the WordPress dashboard?
A: WordPress dashboard does not natively support rollback. You need manual methods or third-party plugins like “WP Rollback”.
Q: What if my site still shows a critical error after rollback?
A: Enable debugging to check error logs, deactivate plugins one-by-one, or restore a full backup if needed.
Q: How to prevent critical errors when updating plugins in future?
A: Use staging sites to test updates, keep backups, update PHP and WordPress core before plugin updates, and avoid rushed updates on live sites.
Using the WP Rollback Plugin for Easy Plugin Version Management
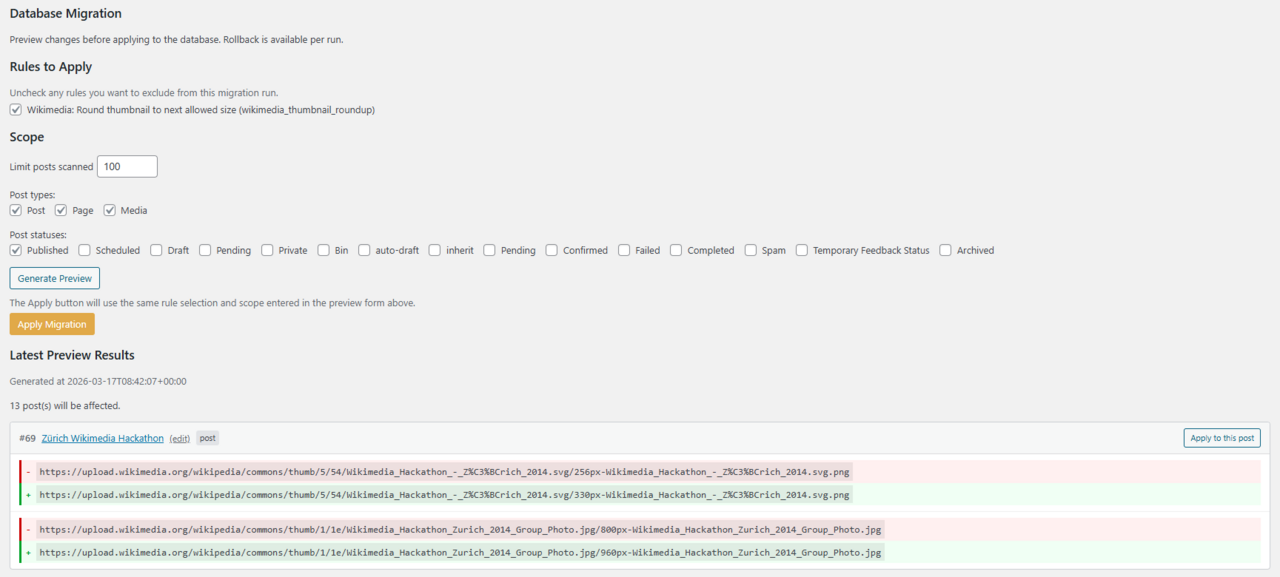
If manual rollback methods seem daunting, the WP Rollback plugin offers a user-friendly alternative for managing plugin versions right from your WordPress dashboard.
Installing and Using WP Rollback
- Access Your WordPress Dashboard: Navigate to Plugins > Add New.
- Search for “WP Rollback”: Locate the plugin developed by “WPAcademy.”
- Install and Activate: Click “Install Now” followed by “Activate.”
- Navigate to Installed Plugins: Go to Plugins > Installed Plugins.
- Rollback Option: For plugins that have previous versions available in the WordPress repository, a new “Rollback” link appears beneath the plugin name.
- Choose Version: Click “Rollback,” select the target previous version from the dropdown, and confirm the rollback.
- Test Your Site: After the rollback completes, thoroughly check your site to verify the critical error is resolved.
Note: WP Rollback only works for plugins hosted in the official WordPress plugin repository and not for premium or custom plugins.
How to Safely Deactivate Plugins via WP-CLI
For users with command-line access to their WordPress hosting environment, WP-CLI provides a fast and safe method to deactivate problematic plugins without using FTP or file managers.
Prerequisites
- Hosting provider must support WP-CLI.
- You need SSH access to run commands in your WordPress root directory.
Steps to Deactivate a Plugin Using WP-CLI
- Connect via SSH: Use an SSH client like Terminal or PuTTY to login.
- Navigate to WordPress Directory: Example command:
cd /path/to/your/wordpress/installation - Deactivate the Plugin: Run
wp plugin deactivate plugin-slugReplace
plugin-slugwith the actual plugin folder name (usually the plugin folder name inwp-content/plugins). - Confirm Deactivation: The command will return success status; your site should no longer throw the plugin-related fatal error.
Advantages: This bypasses the need to rename folders via FTP and is less error-prone.
Edge Case Troubleshooting When Rolling Back Plugins
Site Still Shows Critical Error After Plugin Rollback
- Check for Caching Issues: Clear your browser cache and any WordPress caching plugins to ensure you are loading the fresh site state.
- Plugin Dependencies: Some plugins depend on others or specific PHP versions. Ensure all dependencies meet requirements.
- PHP Version Check: If you recently updated plugins requiring higher PHP versions, verify if your hosting PHP version matches using
phpinfo()or hosting control panel. - Theme Conflicts: Temporarily switch to a default WordPress theme to rule out theme-plugin conflicts.
- Disable All Plugins Temporarily: Rename the entire
pluginsfolder toplugins-deactivatedtemporarily and restore only the necessary plugins to isolate the cause.
Plugin Data or Settings Seem Lost Post-Rollback
This is uncommon but may occur if the plugin updated database schemas incompatibly.
- Check Database Backup: If you have a recent database backup before plugin update, restore it manually.
- Review Plugin Documentation: Some plugins document rollback instructions for database changes.
- Contact Plugin Support: Request guidance on how to safely rollback both plugin code and related database tables.
Best Practices to Avoid Plugin Rollback Requirement
- Staging Environments: Test all plugin updates on a staging site identical to your live environment to catch issues before production deployment.
- Scheduled Backups: Use automatic scheduled backups to capture recent site states regularly.
- Maintain Compatibility: Keep WordPress core and server software (PHP, MySQL) updated to latest stable versions compatible with your plugins.
- Research Plugin Changes: Read changelogs and user feedback of plugin updates before applying to your live site.
- Limit Number of Plugins: Reducing the number of plugins decreases risk of conflicts and critical errors.
Advanced: Using Recovery Mode to Fix Plugin Issues Quickly
Introduced in WordPress 5.2, Recovery Mode helps site admins access their dashboard even when fatal errors occur.
How Recovery Mode Works
- Upon a fatal error, WordPress automatically sends a recovery mode email to the admin with a special login link.
- This allows access to the WordPress admin while disabling the problematic plugin/theme causing the error.
- Admins can then deactivate or rollback the offending plugin within the dashboard.
Using Recovery Mode
- Check your admin email after a critical error for the recovery mode link.
- Click the link to access the dashboard.
- Navigate to Plugins > Installed Plugins.
- Deactivate the plugin causing the error.
- Perform plugin rollback steps or update/reinstall as needed.
Note: If you have not received recovery mode emails, check your mail server settings or spam folder.


